- Go to the platform.qooper.io
- Sign in to your Admin Dashboard
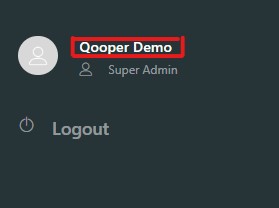
- Find your profile at the bottom of the left pop-up menu and click on it.

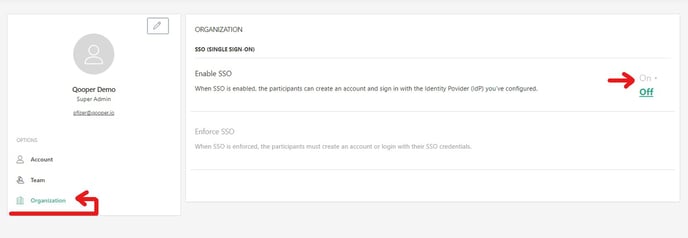
- On the "Organization" section, you will see the "Enable SSO" click the "On" button to move to the configuration part.

- Click "Confirm" to turn on the SSO setting.

- Now you can move to configure your SSO
- Click on the "Configure" button

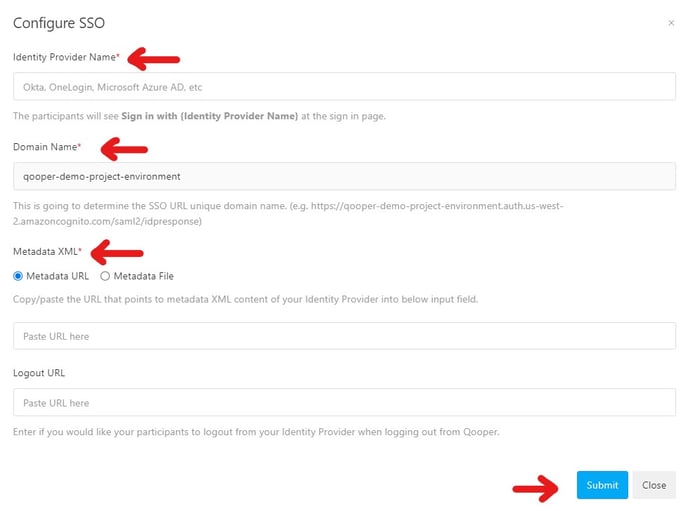
- Fill in the required fields such as Identity Provider Name, Domain Name, and Metadata XML, marked in red, and click the submit button.

- Now move to the "instructions" to finalize your organization's SSO setup.

- Follow each instruction step correctly.
- After completing the setup, try to create an account for yourself with the SSO method by using the mentee or mentor deep links in the "Materials" section on the admin dashboard to test it.
