
Connecting Your Outlook Account for Seamless Meeting Scheduling
Integrating your Outlook account with Qooper streamlines meeting scheduling and ensures all your invitations are managed in one place. Follow these simple steps to connect your account:
Step-by-Step Guide to Connecting Outlook
-
Find the Integration Button
-
Locate the integration button on the platform, often represented by a lightning icon, and click on it.

-
-
Select Outlook & Connect
-
Click on the Outlook logo, then choose "Connect."

-
-
Enter Your Credentials
-
Sign in using your Outlook email and password to complete the integration. Once you are connected, the lightning bolt symbol will appear in top corner of outlook box.

-
What Happens Next?
-
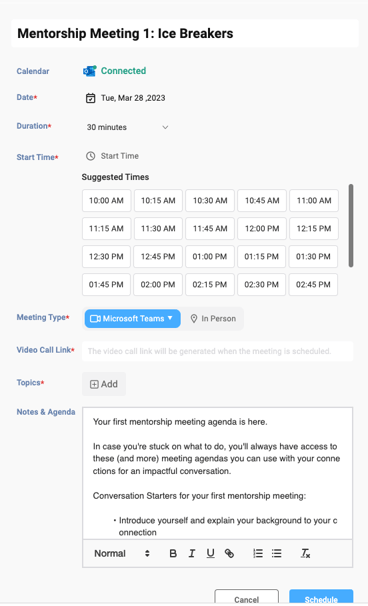
Once connected, your Outlook calendar will sync with Qooper, making it easier to manage your meetings.
-
Your availability within Qooper will combine with your Outlook calendar, ensuring only open time slots are shown when scheduling meetings.
-
When a meeting is scheduled, you’ll be able to view both your own and your connections’ Outlook availability.
-
All scheduled meetings will automatically appear in your Outlook calendar for easy tracking.
Need Assistance?
If you encounter any issues or have questions, visit our [Help Center] or reach out to our support team.
Enjoy seamless scheduling with Qooper and Outlook!